Night Makeup Removal Order: Quick Checklist for Clean Skin
Step-by-Step Night Makeup Removal: An Easy Checklist for a Clean, Calm Bedtime Routine
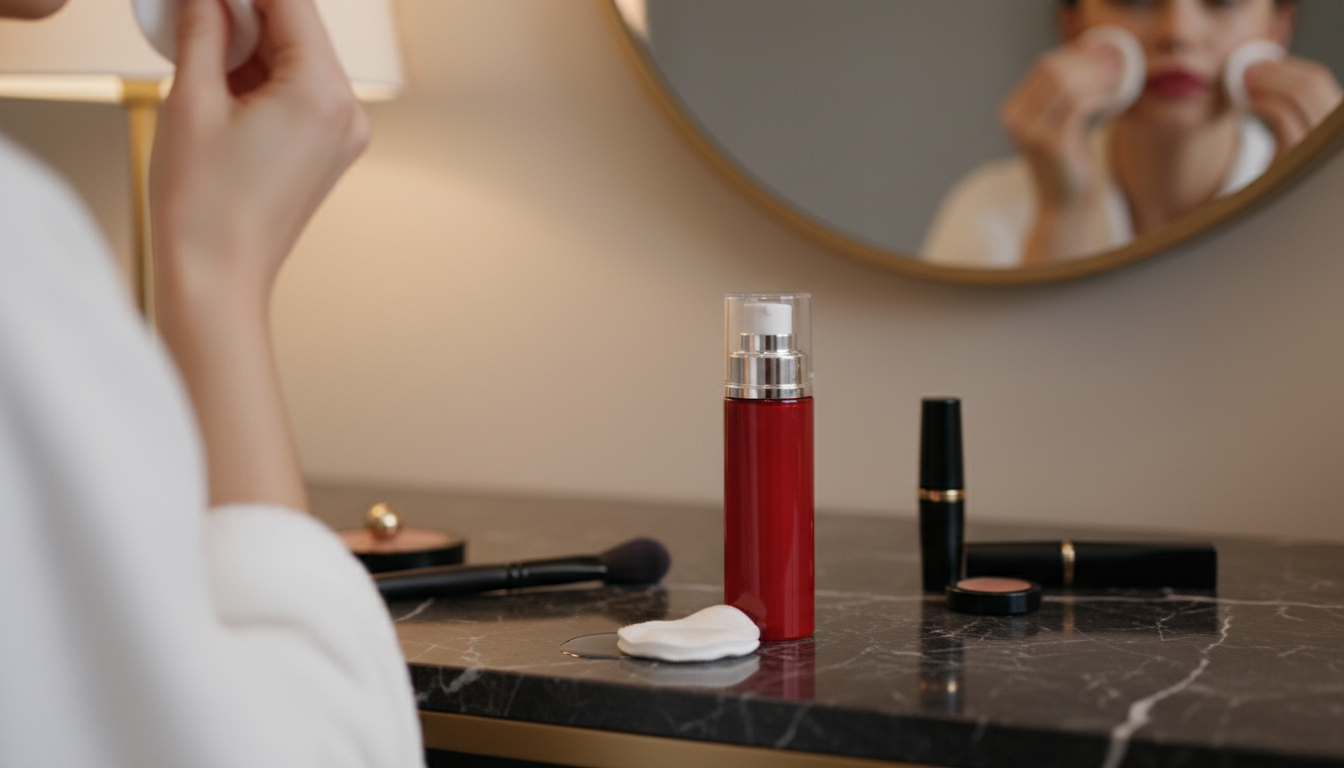
A consistent night removal routine helps prevent clogged pores, irritation, and the “leftover makeup” feeling the next morning. The easiest way to stay gentle (especially around the eyes) is to follow a reliable order: remove the most stubborn products first, then cleanse, then seal in comfort with moisturizer. The steps below are designed to work on busy nights, long-wear makeup days, and everything in between.
Set up in 60 seconds
- Wash hands first to avoid transferring bacteria to the eyes and lips.
- Tie hair back and keep a clean towel or disposable face towel nearby.
- Gather: gentle eye-safe remover or balm, cleanser, lukewarm water, cotton pads or reusable rounds, and a moisturizer.
- If using reusable rounds, start with a fresh one for eyes and another for face to avoid smearing mascara onto cheeks.
The perfect makeup removal order (quick checklist)
This sequence minimizes smudging and reduces the urge to scrub. It also mirrors what many dermatology and eye-health resources recommend: be gentle, avoid tugging, and fully remove product before sleep (see guidance from the American Academy of Dermatology Association and the American Academy of Ophthalmology).
| Step | What to do | Approx. time | Helpful tip |
|---|---|---|---|
| 1 | Eyes: hold remover-soaked pad on closed lid, then wipe downward gently | 30–60 sec | Let the product dissolve mascara; scrubbing can irritate lids and lashes |
| 2 | Lips: press remover on lips, then swipe; repeat for long-wear | 15–30 sec | Finish with a thin layer of balm if lips feel dry |
| 3 | Face: massage balm/oil or wipe with micellar to lift foundation and SPF | 45–90 sec | Focus on hairline, around nose, jawline, and under chin |
| 4 | Cleanser: wash with lukewarm water and gentle cleanser | 60 sec | If water runs cloudy or makeup transfers to towel, cleanse once more |
| 5 | Dry: pat (don’t rub) with a clean towel | 10 sec | Use a dedicated face towel and replace frequently |
| 6 | Moisturize: apply moisturizer; optional targeted care | 20–40 sec | Apply moisturizer while skin is slightly damp to reduce tightness |
Step 1: Eye makeup removal without tugging
- Soak a cotton pad or reusable round with an eye-safe remover; avoid saturating to the point of dripping into eyes.
- Press and hold over the lid and lashes for 10–20 seconds to loosen waterproof mascara and liner.
- Wipe gently downward; use a fresh area of the pad for a second pass.
- For the lash line: use a cotton swab dampened with remover and glide along the lash line with light pressure.
- If wearing contact lenses, remove contacts before using removers when possible to reduce irritation.
Step 2: Lip products (especially stains and matte formulas)
- Press remover onto lips for a few seconds before wiping to prevent repeated scrubbing.
- For lip stains: repeat short press-and-wipe cycles instead of one aggressive rub.
- Rinse or cleanse the mouth area to remove residue that can migrate overnight.
- Finish with a simple balm to reduce dryness and cracking.
Step 3: Break down face makeup and sunscreen
- Use a balm or oil cleanser for heavy makeup, long-wear foundation, or water-resistant sunscreen; massage over dry skin for 30–60 seconds.
- If using micellar water: swipe gently; use multiple pads as needed rather than reusing a dirty pad across the whole face.
- Don’t forget common “missed zones”: hairline, sides of nose, around brows, jawline, and behind ears if makeup was blended there.
- If skin is reactive, choose fragrance-free products and keep the massage gentle to minimize redness.
Step 4: Cleanse to remove leftover residue
- Cleanse with lukewarm water and a gentle facial cleanser for at least 30–60 seconds.
- Rinse thoroughly; leftover cleanser can feel like tightness or cause irritation.
- Double cleansing makes sense when wearing: waterproof mascara, long-wear base products, heavy powder, or water-resistant SPF.
- If acne-prone, prioritize a thorough but non-stripping cleanse over harsh scrubs or overly hot water. For a simple face-washing framework, see NHS guidance on face washing and skin care tips.
Step 5–6: Dry, moisturize, and keep the barrier comfortable overnight
- Pat skin dry with a clean towel; rubbing can worsen redness and texture.
- Apply moisturizer right after cleansing to support the skin barrier and reduce moisture loss overnight.
- Optional add-ons (keep it simple): spot treatment for breakouts, a bland ointment for dry patches, or a hydrating serum if skin feels tight.
- If using active ingredients (retinoids/acids), apply only after skin is fully dry and avoid the immediate eyelid area unless the product is made for it.
Common mistakes that leave makeup behind
Adjustments by skin type and makeup style
A printable-style routine to keep by the sink
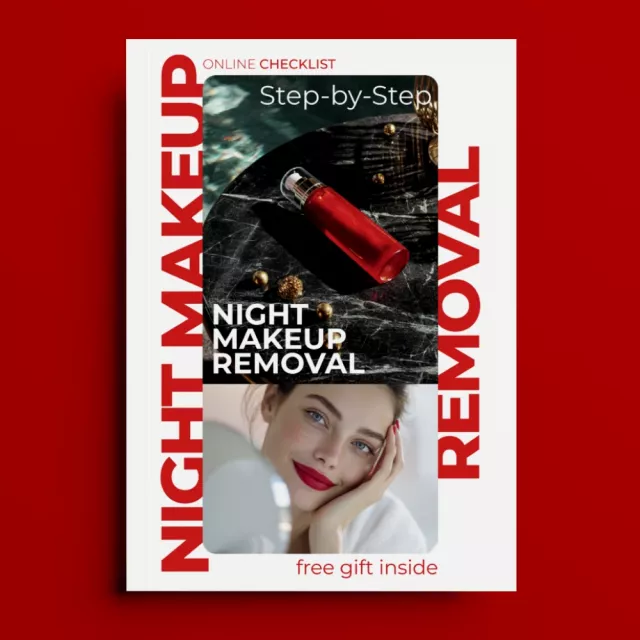
A simple checklist download for consistency
If you like a ready-to-follow format that matches the exact order above, the Step-by-Step Night Makeup Removal | Easy Night Routine Checklist for the Perfect Makeup Removal Order works well as a quick reference on a phone or printed for the bathroom.
For a second “prep-and-go” organizer that pairs nicely with getting-ready routines, consider Wear What Works Together – Color Matching Guide for Outfits, Personal Style, and Confident Everyday Dressing | Digital Download.
FAQ
Should eye makeup come off before face makeup?
Yes—eyes first helps prevent mascara and liner from smearing onto freshly cleansed skin, and the eye area usually needs the longest “press and hold” time so product can dissolve without tugging.
Is double cleansing necessary every night?
Not always. It’s most helpful after water-resistant sunscreen, long-wear foundation, heavy powder, or waterproof eye makeup; on lighter days, one gentle cleanse may be enough.
What if makeup is still on my towel after cleansing?
That usually means more breakdown time is needed (balm/oil or micellar) or a second gentle cleanse. Avoid scrubbing—use an extra pass and rinse thoroughly instead.


Leave a comment